Custom Domains
Using a custom domain
You can easily use your own domain for a Netlify site.
Assigning the domain
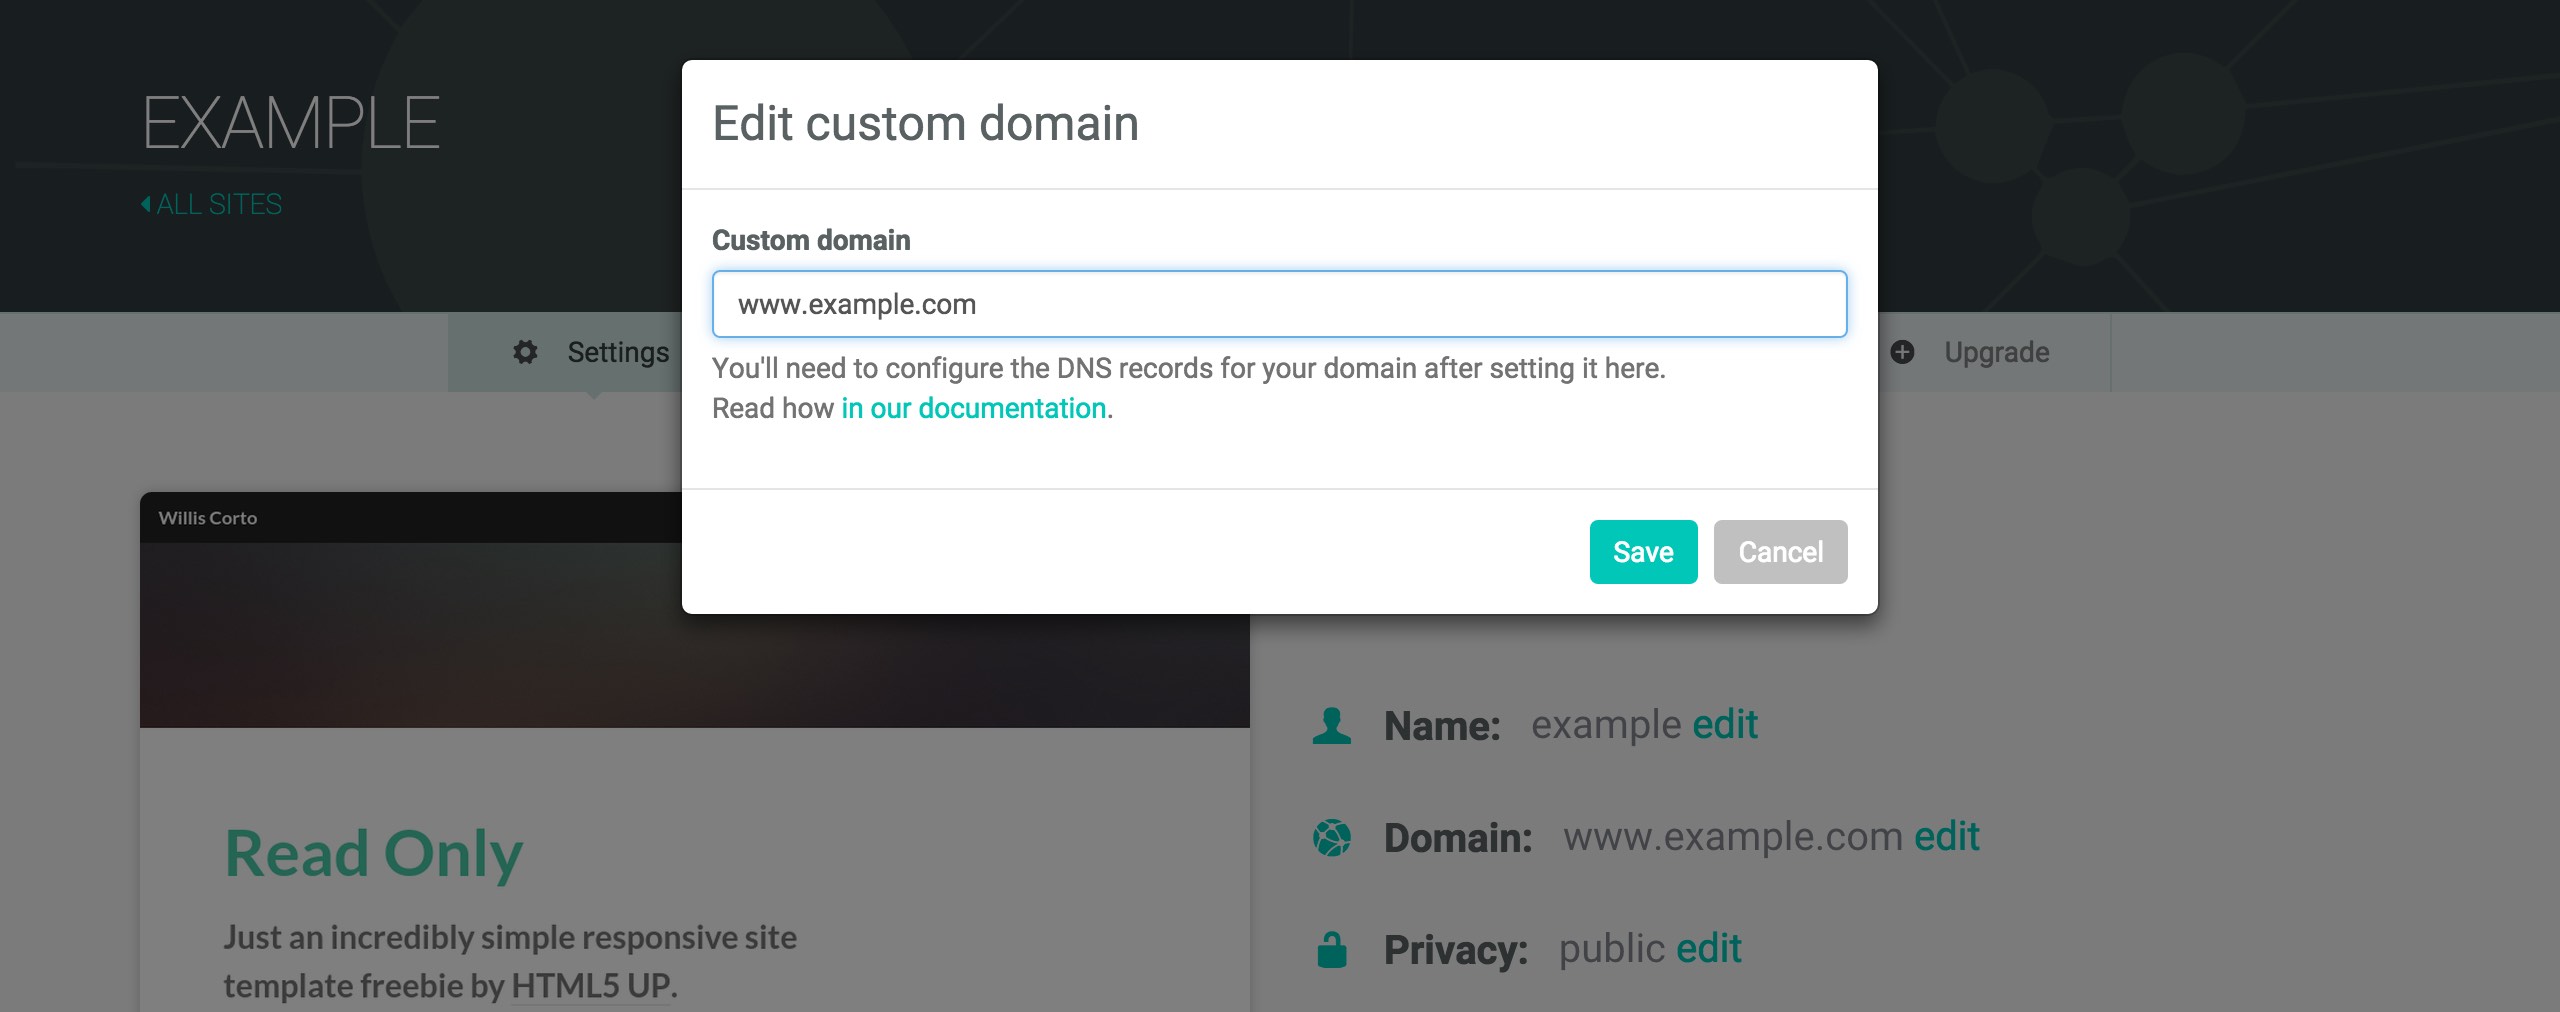
First you need to assign the domain to the site you want us to show.
You can do this through the web UI by clicking “Edit domain” when viewing your site.
You can also assign domains through the CLI tool with the netlify update command.
We highly recommend using a www domain instead of an apex domain (ie. www.example.com instead of example.com. Unless your DNS provider supports ANAME or ALIAS records for the apex domain you won’t be able to take full advantage of our CDN unless you use the www prefix or a similar subdomain.
DNS configuration
You’ll need to point the DNS records for the domain at our servers.
- Create a CNAME that will “alias” your site to
<site-name>.netlify.com. If your domain isexample.comand your site is atexample.netlify.com, you would create a CNAME record for www pointing atwww.example.comtoexample.netlify.com. - Create an A record for the raw domain (example.com) pointing to
198.61.251.14
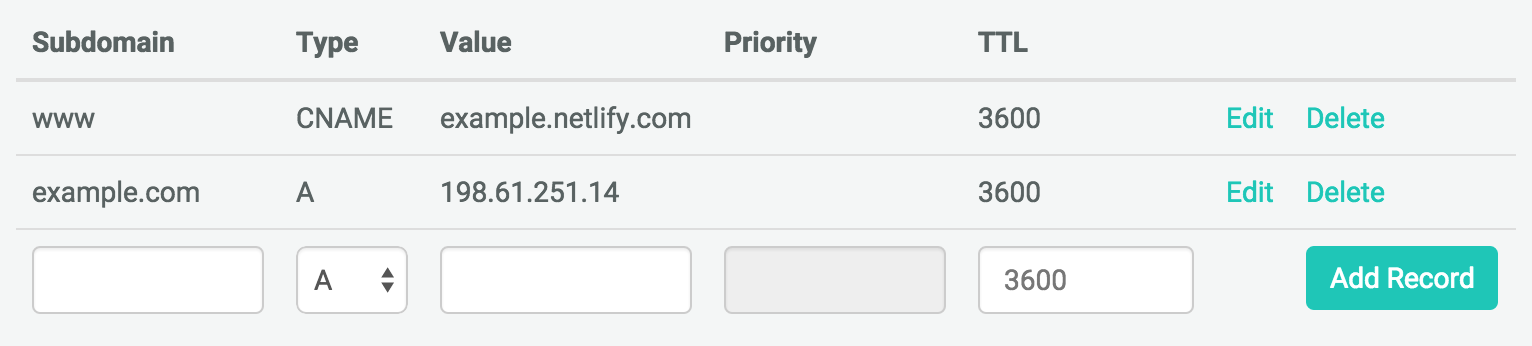
If your DNS provider supports ANAME or ALIAS records for apex domains you can instead alias the raw domain to www.netlify.com
Depending on your DNS provider changes to DNS records can take several hours to propagate, so be patient.
Domain Provider-specific Walkthroughs
Walkthroughs for a number of popular domain providers are below. Use the links to jump to your provider:
GoDaddy
NameCheap
Google Domains
DNSimple
DNS Made Easy
1and1
Gandi
Godaddy
If you’ve purchased your domain on GoDaddy, follow these simple instructions to point it at your netlify site:
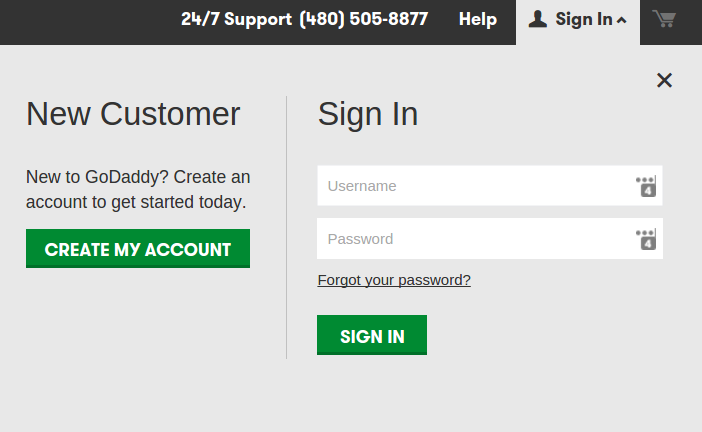
Step 1: Log in to your GoDaddy account
Step 2: Click the plus sign next to Domains

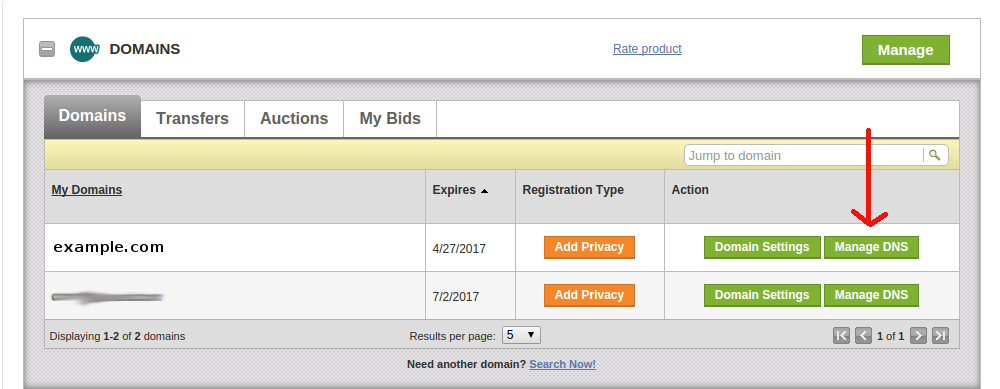
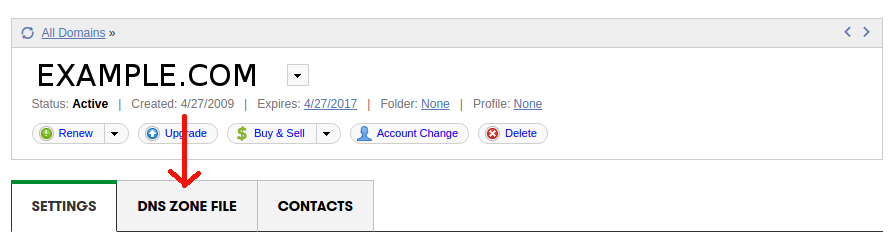
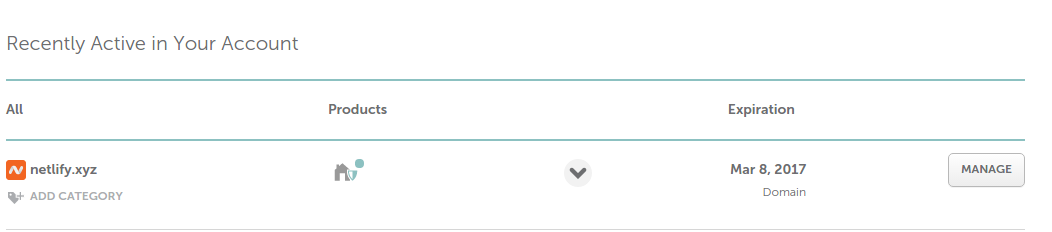
Step 3: For your chosen domain, click Manage DNS
Step 4: Click DNS ZONE FILE
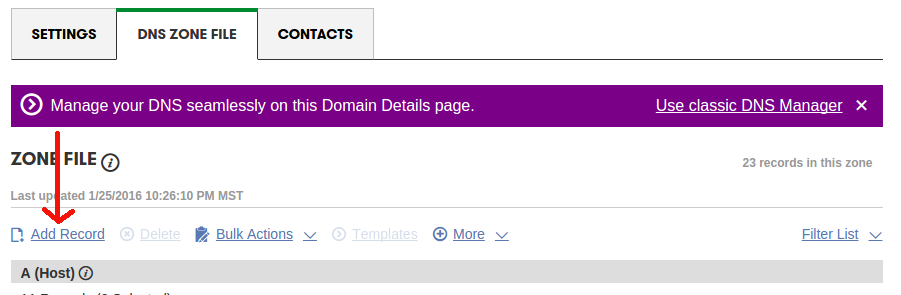
Step 5: Click Add Record
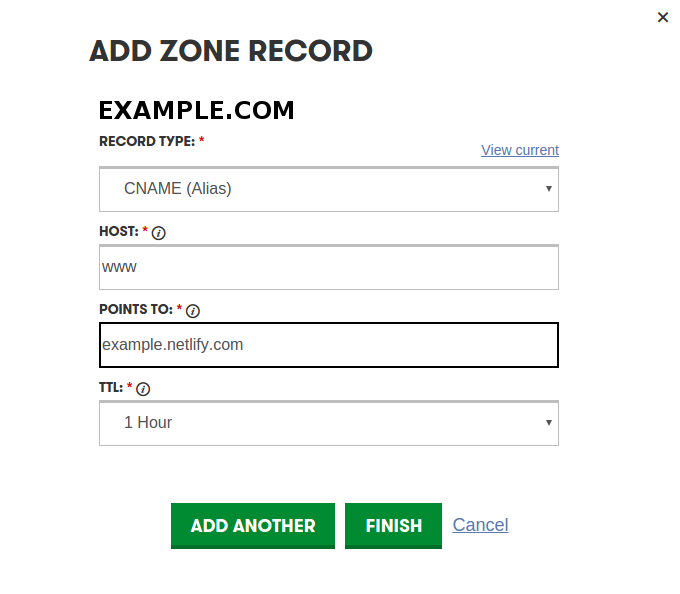
Step 6: Add a CNAME Record as shown below, then click Add Another
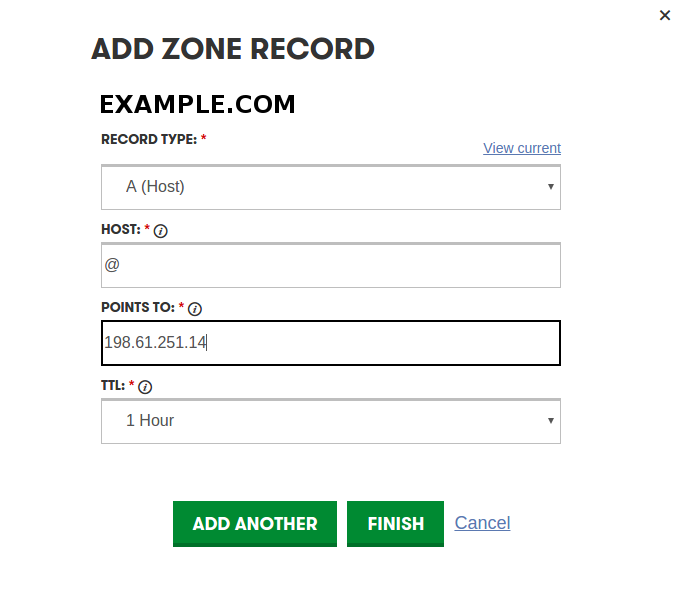
Step 7: Add an A Record as shown below, then click Finish
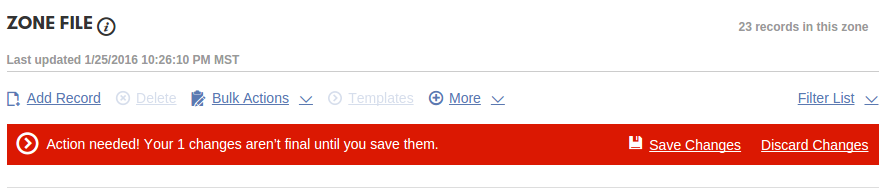
Step 8: Don’t forget to save!
It could take up to 48 hours (but most likely won’t) for the changes to go into effect.
NameCheap
If you’ve purchased your domain on NameCheap, follow these simple instructions to point it at your netlify site:
Step 1: In your dashboard, click Manage
Step 2: Click Advanced DNS

Step 3: Under Type select CNAME Record. Make sure the Host is set to www and Value is the name of your site as shown on app.netlify.com/sites, then click the green check mark

Step 4: Under Type select A Record. Set the value to 198.61.251.14 and click the green check mark

Your custom domain is now pointing at your netlify site. Remember, it may take up to a few hours for everything to work correctly.
Google Domains
If you’ve purchased your domain on Google Domains, follow these simple instructions to point it at your netlify site:
Step 1: Click the server icon under DNS

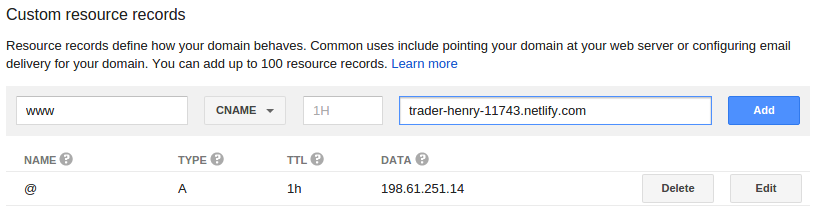
Step 2: Scroll down to Custom Resource Records
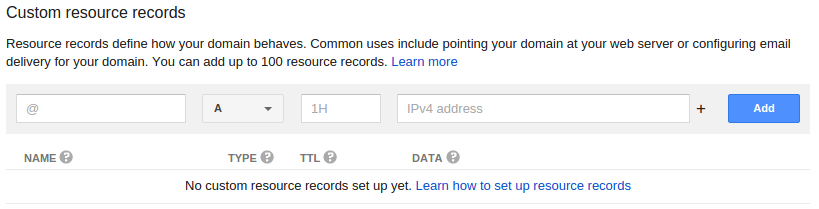
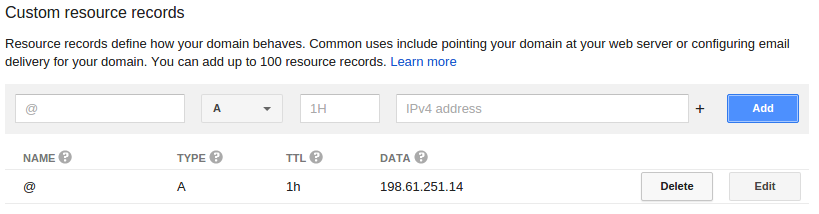
Step 3: Choose A from the dropdown menu, and set the IPv4 address to 198.61.251.14, then click Add
Step 4: Choose CNAME from the dropdown, then set the first box to www and enter the name of your site as shown on app.netlify.com/sites in the Domain box, then click Add
Your custom domain is now pointing at your netlify site. Remember, it may take up to a few hours for everything to work correctly.
DNSimple
If you’ve purchased your domain on DNSimple, follow these simple instructions to point it at your netlify site:
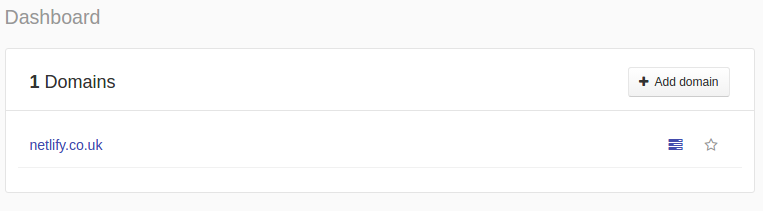
Step 1: From your dashboard, click the name of your domain
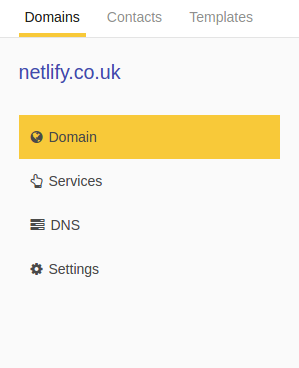
Step 2: Click Services
Step 3: Click Add or edit services
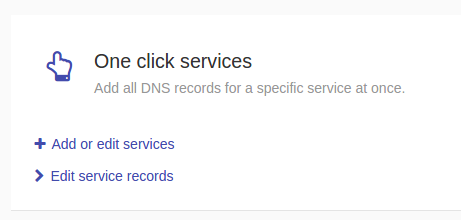
Step 4: Scroll down to netlify, then click Add service
Step 5: Enter the name of your site as shown on app.netlify.com/sites and then click Complete Netlify Setup
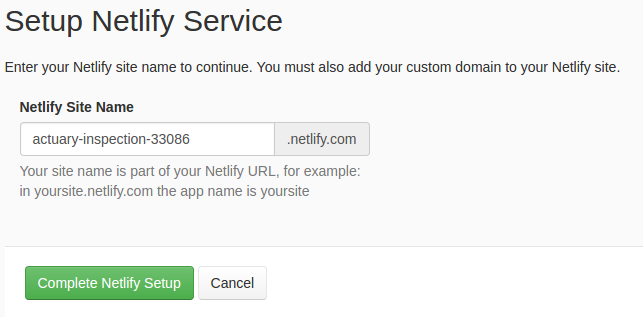
Your custom domain is now pointing at your netlify site. Remember, it may take up to a few hours for everything to work correctly.
DNS Made Easy
If you’ve purchased your domain on DNSimple, follow these simple instructions to point it at your netlify site:
Step 1: Click Domains
Step 2: Click the name of your domain

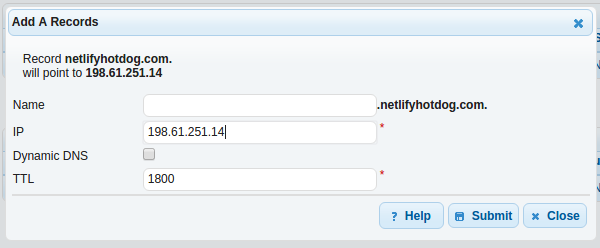
Step 3: Under A Records click the + sign

Step 4: Leave the Name field blank, enter 198.61.251.14 in the IP field, and click Submit
Step 5: Under CNAME Records click the + sign

Step 6: In the Name field enter www, and in the Alias to field enter the name of your site as shown on app.netlify.com/sites. Then click Submit
Your custom domain is now pointing at your netlify site. Remember, it may take up to a few hours for everything to work correctly.
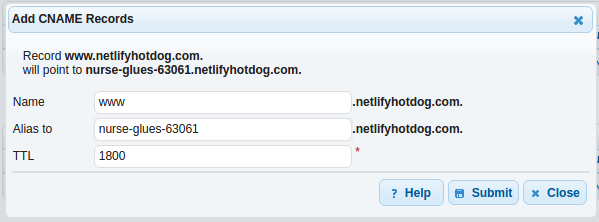
1and1
If you’ve purchased your domain on 1and1, follow these simple instructions to point it at your netlify site:
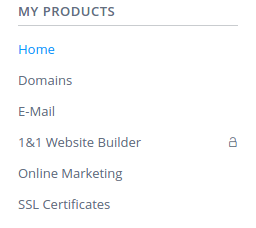
Step 1: After logging in to 1and1, click Domains in the left sidebar
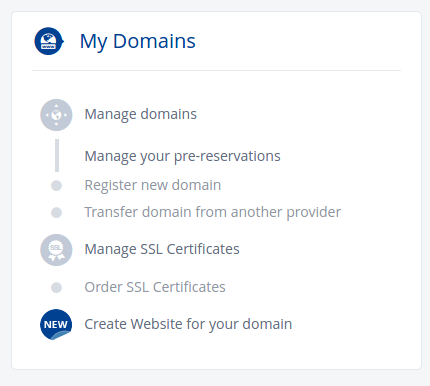
Step 2: Click Manage domains
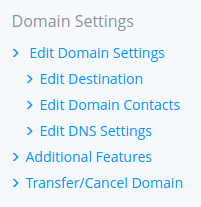
Step 3: Click Edit DNS Settings
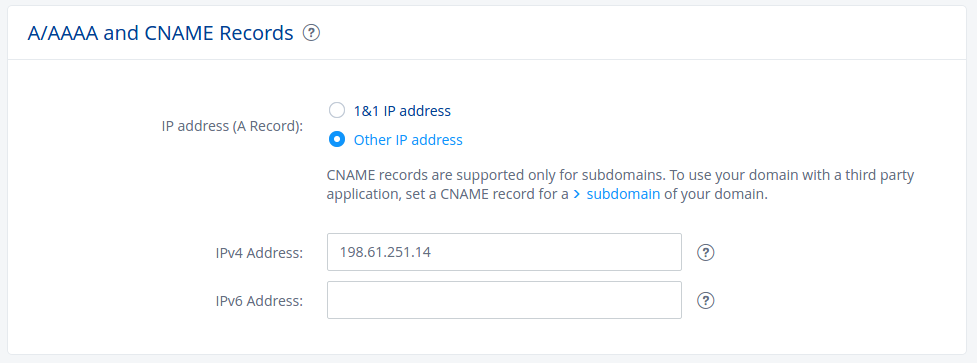
Step 4: Scroll down to A/AAAA and CNAME Records. Select Other IP address and enter 198.61.251.14 in the IPv4 Address box. Then scroll to the bottom and click Save
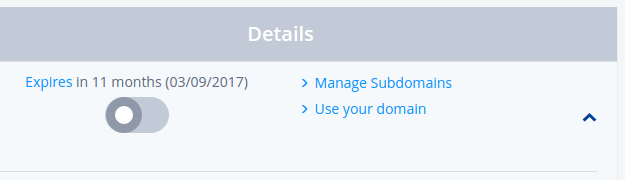
Step 5: After clicking Save, you will be returned to the Domains page. Click Manage Subdomains
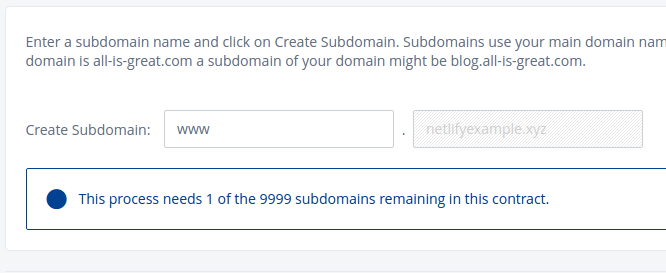
Step 6: Click Create Subdomain

Step 7: In the Create Subdomain box, enter www, then click Create Subdomain
Step 8: Click the down arrow to expand your options, then click Edit DNS Settings
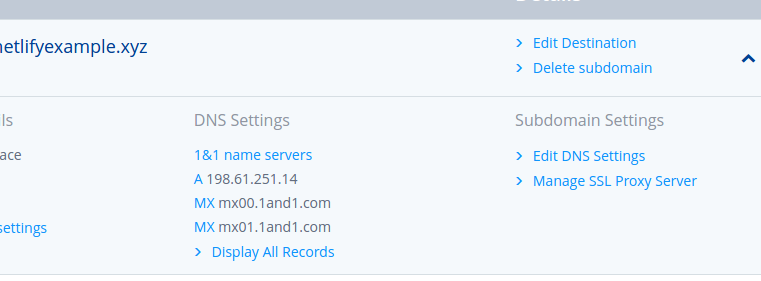
Step 9: Scroll down to A/AAAA and CNAME Records. Select CNAME. In the Alias field enter the name of your site as shown on app.netlify.com/sites. Then click Save

Your custom domain is now pointing at your netlify site. Remember, it may take up to a few hours for everything to work correctly.
Gandi
If you’ve purchased your domain on Gandi, follow these simple instructions to point it at your netlify site:
Step 1: After logging in to Gandi, click your domain name
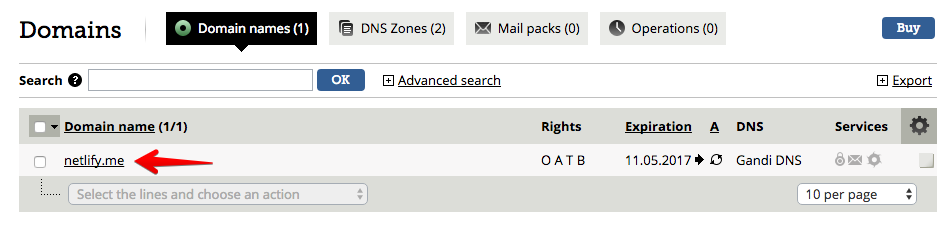
Step 2: Scroll down and click View the zone's contents
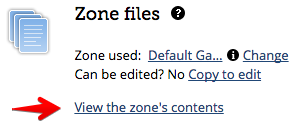
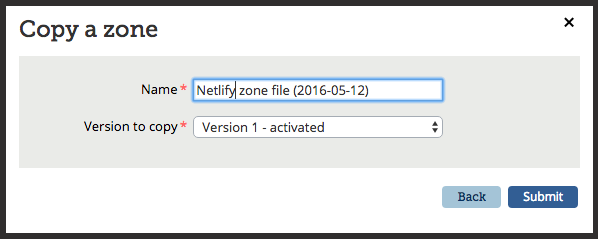
Step 3: Gandi won’t let you edit your default zone file directly, so you must make a copy.

Step 4: Name your zone Netlify zone file and click Submit
Step 5: Now that you’ve created a new zone, you still can’t use it. You’ll have to create a new version of that zone.

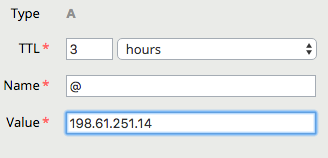
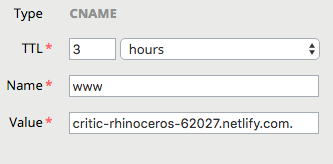
Step 6: Click the pencil icon next to the A record

Step 7: In the Value box, enter 198.61.251.14, then click Submit
Step 8: Now click the pencil icon in the WWW row. In the Value field enter the name of your site as shown on app.netlify.com/sites. Then click Submit
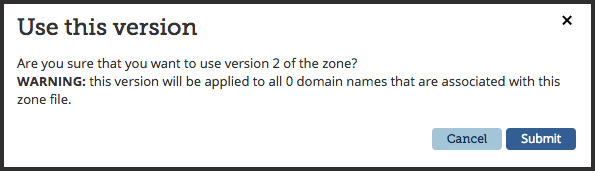
Step 9: Now you want to specify that this is the version of the zone file that you want to use

Step 10: Yes, you are sure
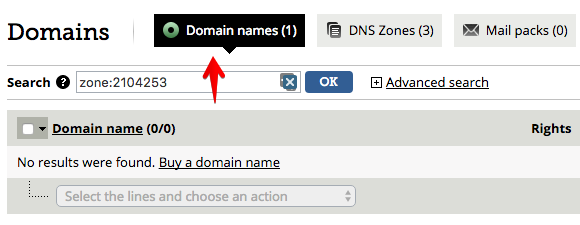
Step 11: Click the button next to Number of domains using this zone

Step 12: Click Domain names
Step 13: Select your domain
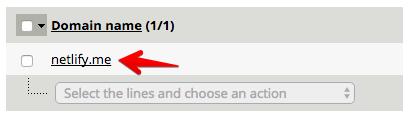
Step 14: Scroll down to Zone files and click Change
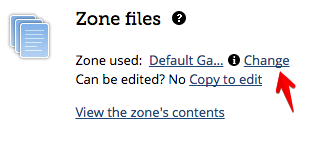
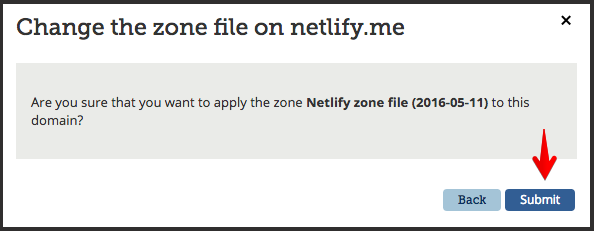
Step 15: Click Choose in the Netlify zone file row

Step 16: Yes, you are sure
Your custom domain is now pointing at your netlify site. Remember, it may take up to a few hours for everything to work correctly.
Naked domains?
You can use Naked domains with Netlify, but we recommend you always use the www version of the domain (eg. www.example.com) for your site. This makes it easier to take advantage of Netlify’s powerful CDN.
If you prefer the naked domain, we recommend you use a DNS provider that supports ANAME or ALIAS records for apex domains such as DNSimple or DNS Made Easy. If you set an A record for the apex domain, you won’t be able to take advantage of the full Netlify CDN. If your provider lets you set an ALIAS, the full CDN will work. If not, your assets (Javascript, CSS, images) will be served out of a global CDN, but your HTML will be served out of our primary datacenter in the US.
Domain redirects
We’ll automatically set up redirects for the alternative domain to the primary domain. So if you use www.example.com, we’ll configure example.com to do a 301 redirect to the www domain. If you assign the naked domain to your site, we’ll redirect in the opposite direction.
We only redirect automatically between the root domain and www. Not any other subdomains.
Domain aliases
Depending on your plan, you can setup domain aliases for your domain, so the same site will be rendered on several different domains.
You can use domain aliases together with rewrite and redirect to redirect or rewrite based on the current domain of the site.