A Step-by-Step Guide: Jekyll (3.0) on Netlify
Today, we’re going to look at how to host a project built with Jekyll on Netlify, including setting up continuous deployment.
Let’s start from scratch. If you already have a Jekyll site set up, you can skip straight to the Connecting to Netlify section.
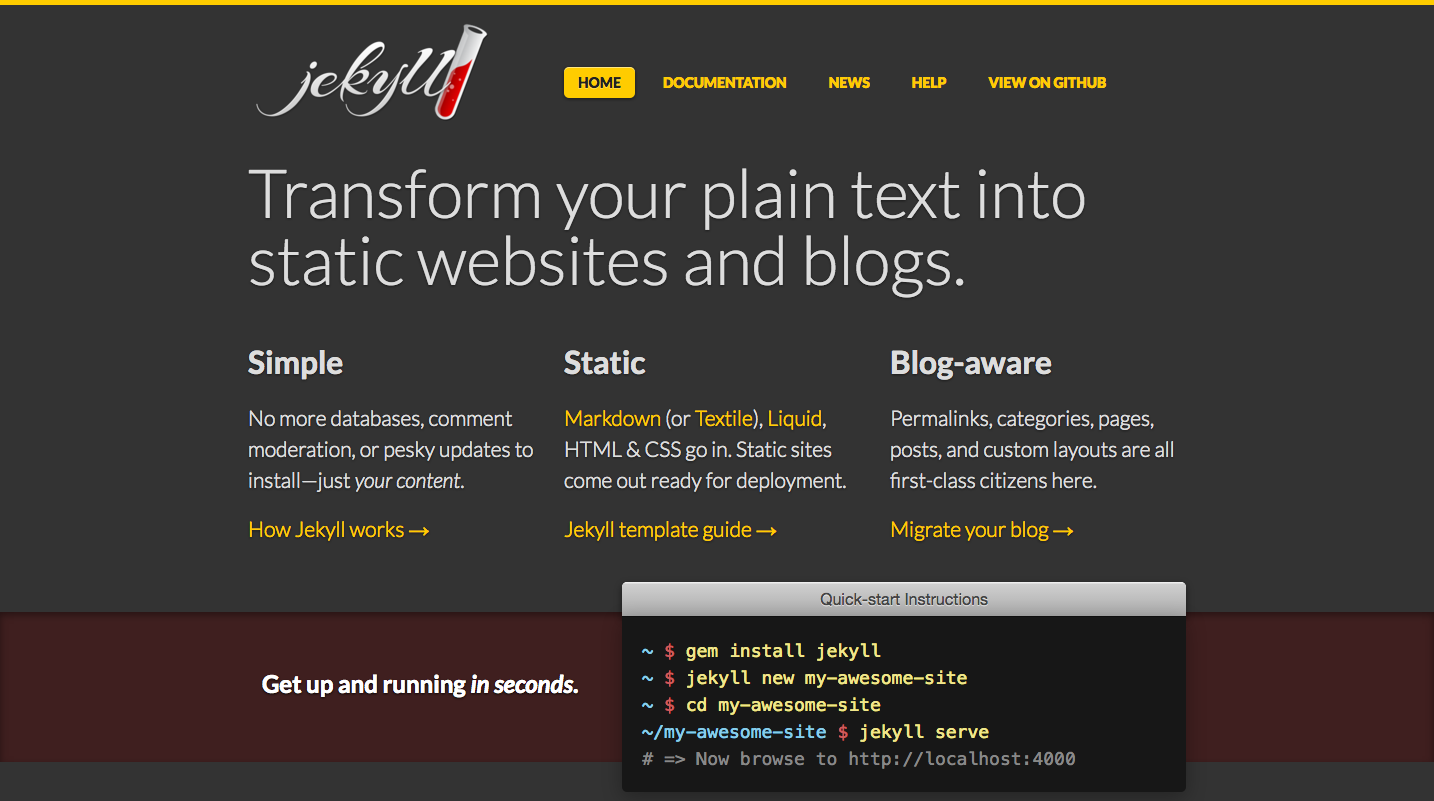
Installing Jekyll
This guide assumes you have Ruby and RubyGems installed.
Open your terminal, and enter the following command:
$ gem install jekyll
Jekyll will create a folder with all the necessary elements for your project:
$ jekyll new PATH/TO/jekyll
Change to your new directory:
$ cd PATH/TO/jekyll
Jekyll can act as a server so that you can preview your content:
$ jekyll serve
This will create a version of your site that you can access at http://localhost:4000
Like what you see? Great, let’s move on.
Preparing your project for GitHub
There’s a few things you need to do before pushing your project to GitHub to make sure that your new site will play nicely with Netlify.
In the terminal, run the following command:
$ bundle init
This will create a file in your jekyll directory called Gemfile. Open Gemfile in your favorite text editor. Replace the following line:
# gem "ruby"
with this line:
gem "jekyll"
Make sure you delete the #, then save.
Now run this command:
$ bundle install
This will install the jekyll gem and create a file called Gemfile.lock. This file will ensure that Netlify always uses the same version of Jekyll that you used to build your site, thus avoiding any nasty surprises.
Finally, open .gitignore in your favorite text editor, and make sure that it includes _site on one of the lines. With that done, you are ready to push to GitHub.
Creating your Git Repo
Create a new repository on GitHub. To avoid errors, do not initialize the new repository with README, license, or gitignore files. You can add these files after your project has been pushed to GitHub.
Open Terminal (for Mac users) or the command prompt (for Windows and Linux users).
For our purposes, let’s call your new repo “jekyll”.
In the terminal, initialize the local directory as a Git repository.
$ git init
Add the files in your new local repository. This stages them for the first commit.
$ git add .
Commit the files that you’ve staged in your local repository.
$ git commit -m 'First commit'
At the top of your GitHub repository’s Quick Setup page, click the clipboard icon to copy the remote repository URL.
In Terminal, add the URL for the remote repository where your local repository will be pushed.
git remote add origin Git_Repository_URL
Verify your URL
git remote -v
Now, it’s time to push the changes in your local repository to GitHub.
git push -u origin master
Now that your assets are up and running on GitHub, let’s connect them to Netlify.
Connecting to Netlify
Step 1: Add Your New Site
 Creating a new site on Netlify is simple. Once you’ve logged in, you’ll be taken to https://app.netlify.com/sites. If you’re just starting out, there’s only one option.
Step 2: Link to Your GitHub
Clicking “New Site” brings you to this screen:

When you push to GitHub, Netlify does all the work. No more manual deploying of updates or changes!
Since your assets are hosted on GitHub, you’ll need to link Netlify to GitHub. Click “Link to GitHub”.
Step 3: Authorize Netlify

It’s time to allow Netlify and GitHub to talk to each other. Clicking the “Authorize Application” button will do just that. Like it says in the image below, Netlify doesn’t store your GitHub access token on our servers. If you’d like to know more about the permissions Netlify requests and why we need them, you can visit https://docs.netlify.com/github-permissions/.
Step 4: Choose Your Repo
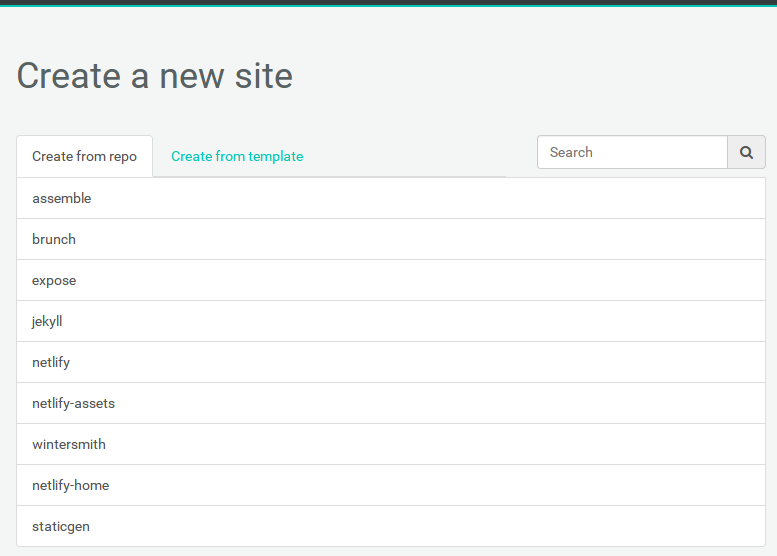
Now that you’ve connected Netlify and GitHub, you can see a list of your Git repos. There’s the “jekyll” repo you just pushed to GitHub. Let’s select it.
Step 5: Configure Your Settings
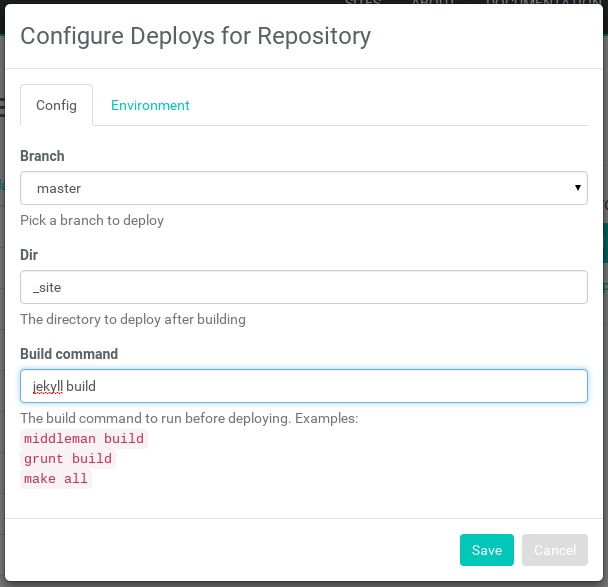
Here you can configure your options. For the purposes of this tutorial, make sure your configuration matches the screenshot, then click “Save”.
Step 6: Build Your Site

Now it’s time to sit back and relax. Go grab something cold to drink, scratch the dog behind the ears, or just get up and walk around (you’ve probably been in front of the computer for too long today, right?). Netlify will do the rest, and you can watch the progress.
Step 7: Done
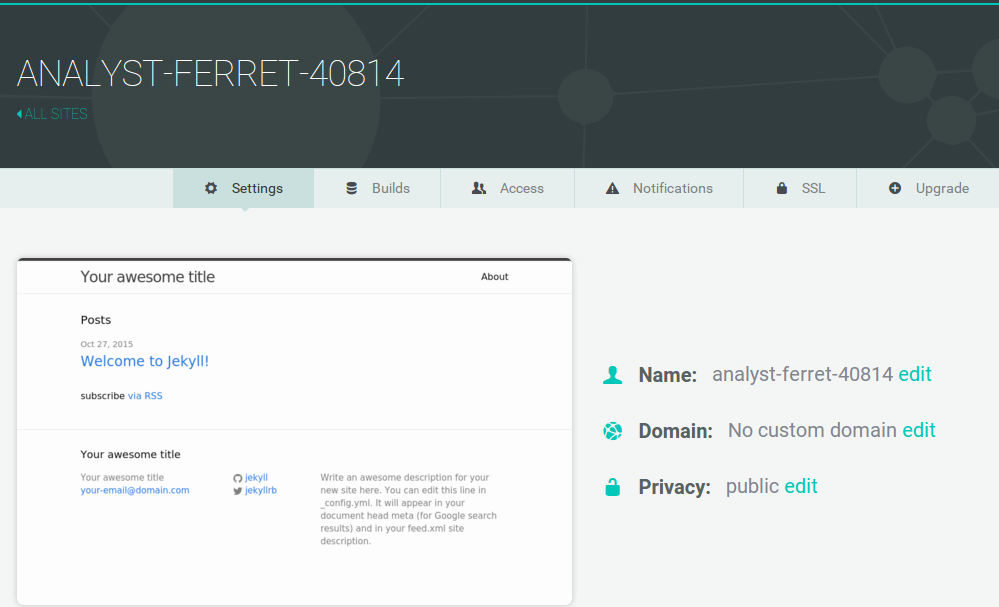
Wait, you thought there was going to be more? Nope! Netlify has done it all for you, including giving your site a temporary name. Now you can add your custom domain, and your site will be live for your adoring public to view. Congratulations, and thanks for using Netlify!