Setting up Your Custom Domain

So you’ve splashed out on a personal domain, and want to connect it to your site hosted on Netlify. Great!
Here, we’ll walk you through how to connect your site to your custom domain from most of the popular domain name registrars.
First, you want to tell Netlify to use your custom domain. You can do this through the web UI by clicking “Edit domain” when viewing your site.
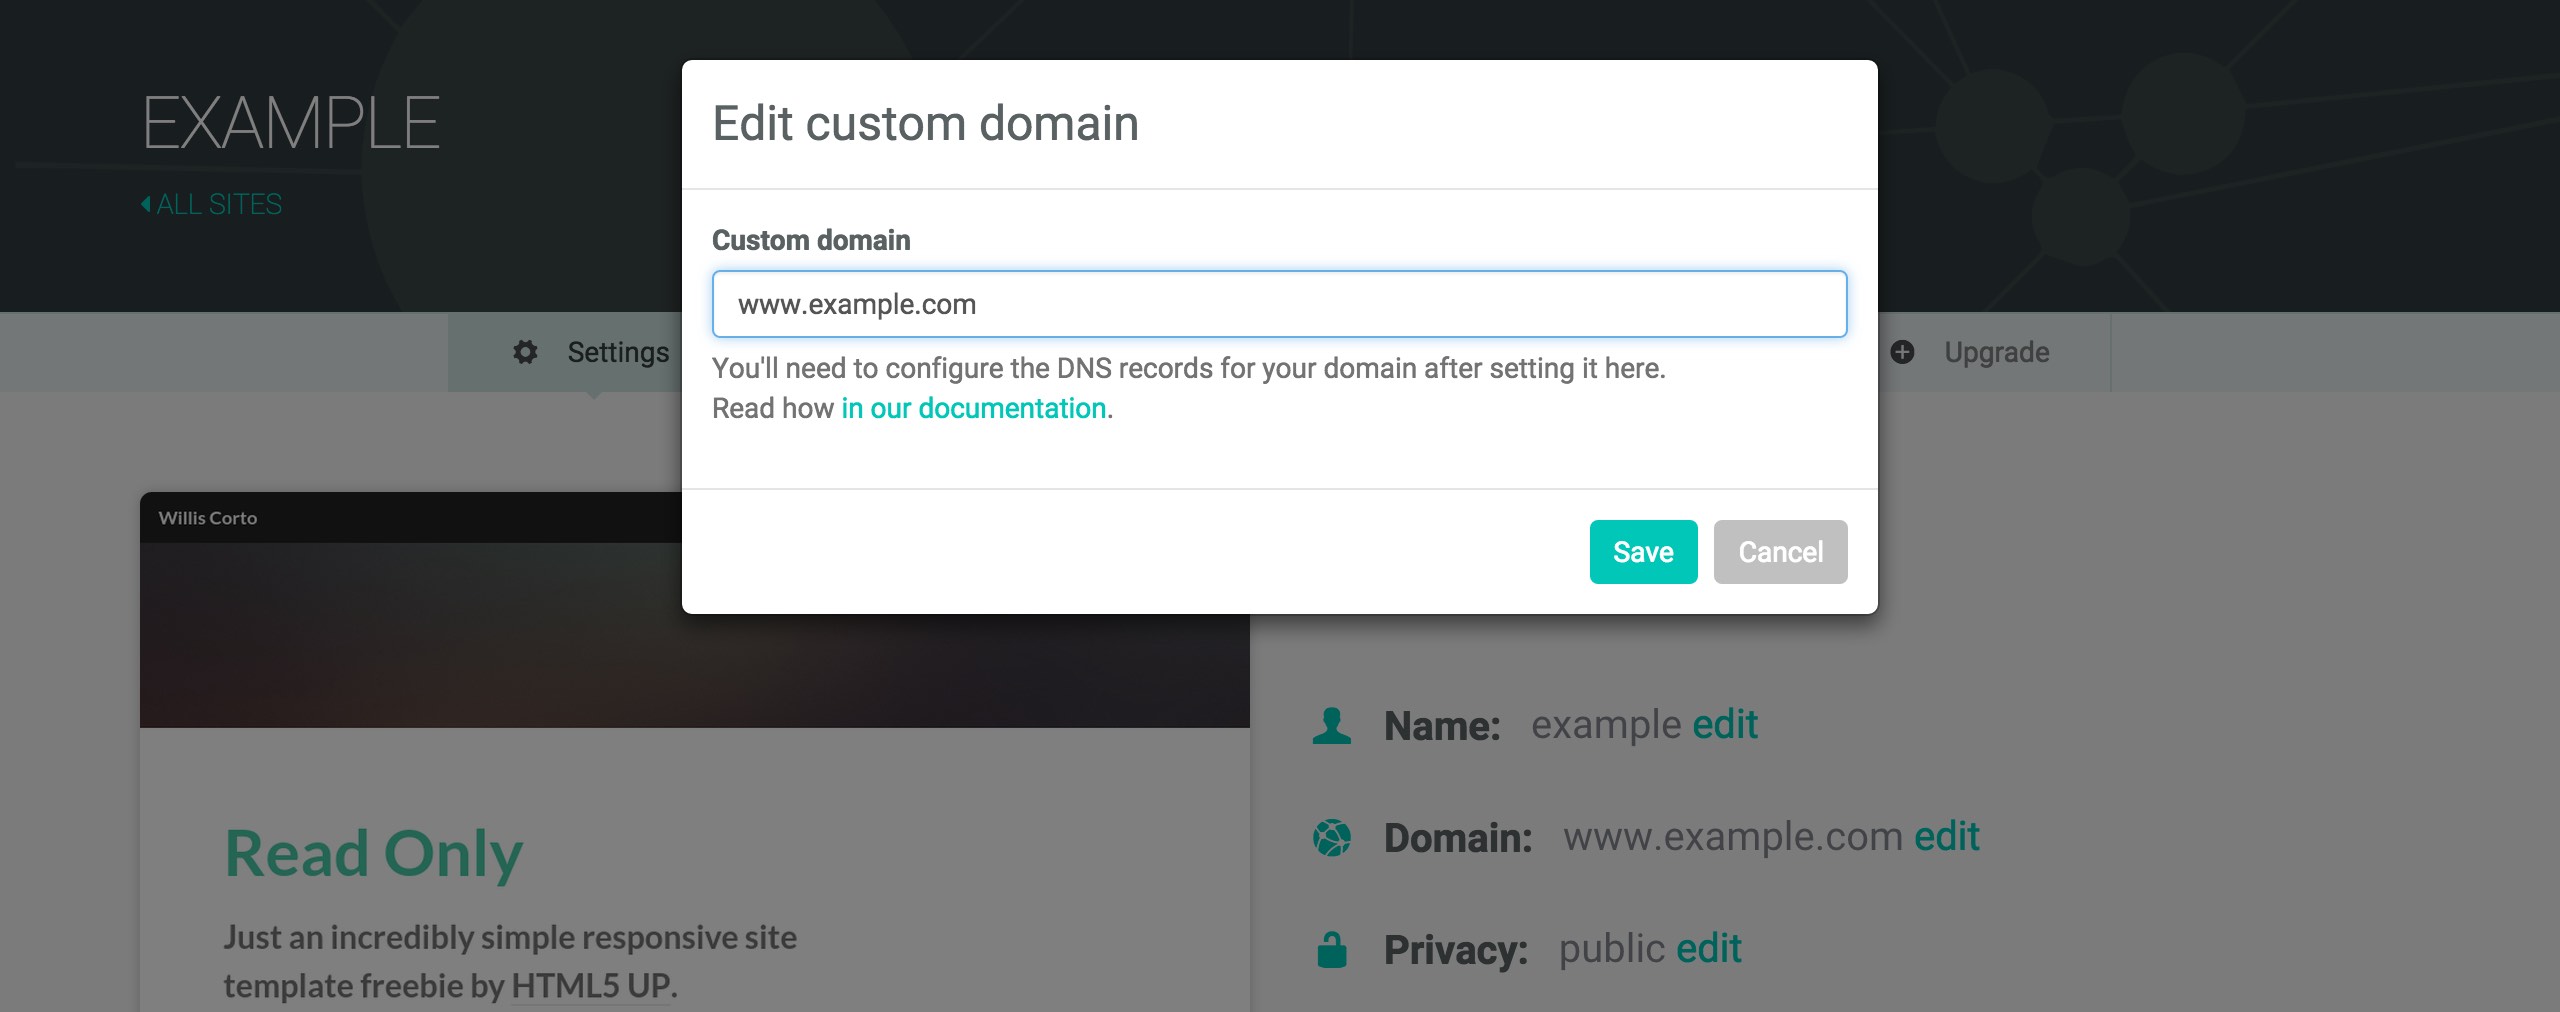
We highly recommend using a www domain instead of an apex domain (ie. www.example.com instead of example.com. Unless your DNS provider supports ANAME or ALIAS records for the apex domain you won’t be able to take full advantage of our CDN unless you use the www prefix or a similar subdomain. If you want an apex domain to point to your site, follow our documentation here.
Next, the standard values: If your registrar isn’t listed below, then you can use these standard values to set up your domain.
CNAME: www should point at example.netlify.com (replace example with the name of your site as listed at https://app.netlify.com/sites)
A Record: your raw domain (example.com) should be pointing to 198.61.251.14

Once you’ve added these new values, visiting www.example.com will take you to your new site. Remember, it could take a few hours to start pointing traffic in the right direction.
How do I set up with [insert Registrar here]?
Is it your first time setting up a custom domain? No worries, we can help with that (we’ve all been there). For a step-by-step walkthrough with screenshots, choose your provider:
GoDaddy
NameCheap
Google Domains
DNSimple
DNS Made Easy
1and1
Godaddy
If you’ve purchased your domain on GoDaddy, follow these simple instructions to point it at your Netlify site:
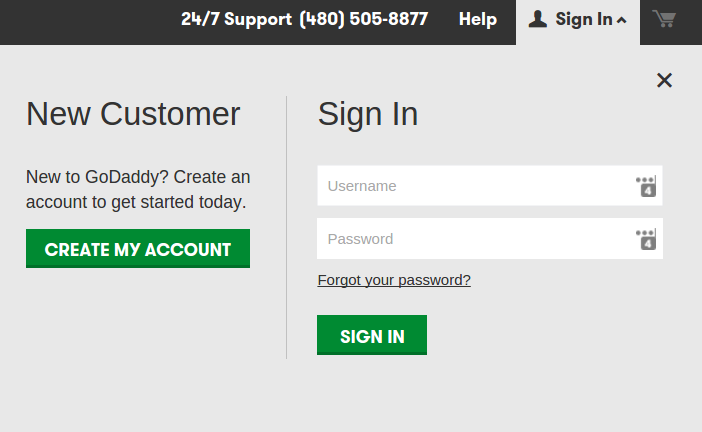
Step 1: Log in to your GoDaddy account
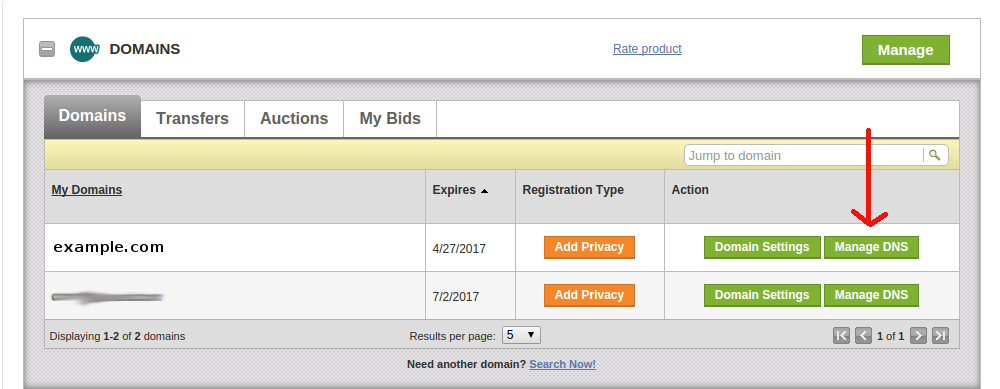
Step 2: Click the plus sign next to Domains

Step 3: For your chosen domain, click Manage DNS
Step 4: Click DNS ZONE FILE

Step 5: Click Add Record

Step 6: Add a CNAME Record as shown below, then click Add Another
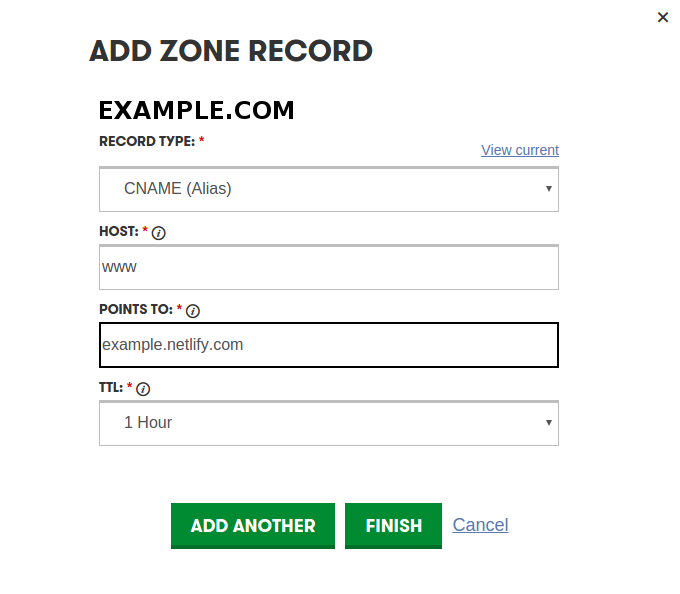
Step 7: Add an A Record as shown below, then click Finish
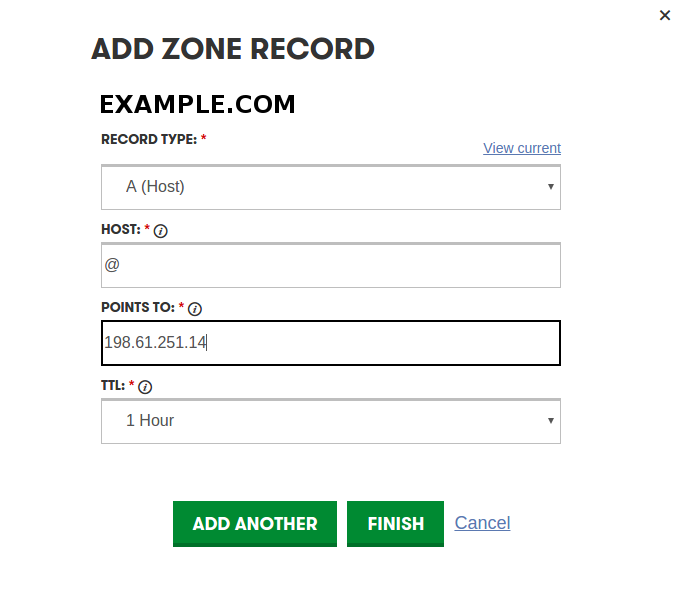
Step 8: Don’t forget to save!

It could take up to 48 hours (but most likely won’t) for the changes to go into effect.
NameCheap
If you’ve purchased your domain on NameCheap, follow these simple instructions to point it at your Netlify site:
Step 1: In your dashboard, click Manage

Step 2: Click Advanced DNS

Step 3: Under Type select CNAME Record. Make sure the Host is set to www and Value is the name of your site as shown on app.netlify.com/sites, then click the green check mark

Step 4: Under Type select A Record. Set the value to 198.61.251.14 and click the green check mark

Your custom domain is now pointing at your Netlify site. Remember, it may take up to a few hours for everything to work correctly.
Google Domains
If you’ve purchased your domain on Google Domains, follow these simple instructions to point it at your Netlify site:
Step 1: Click the server icon under DNS

Step 2: Scroll down to Custom Resource Records

Step 3: Choose A from the dropdown menu, and set the IPv4 address to 198.61.251.14, then click Add

Step 4: Choose CNAME from the dropdown, then set the first box to www and enter the name of your site as shown on app.netlify.com/sites in the Domain box, then click Add

Your custom domain is now pointing at your Netlify site. Remember, it may take up to a few hours for everything to work correctly.
DNSimple
If you’ve purchased your domain on DNSimple, follow these simple instructions to point it at your Netlify site:
Step 1: From your dashboard, click the name of your domain

Step 2: Click Services
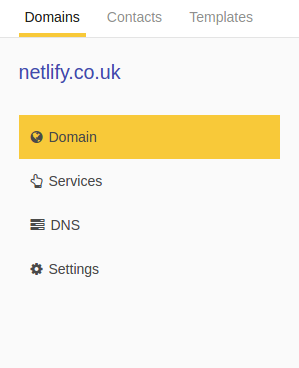
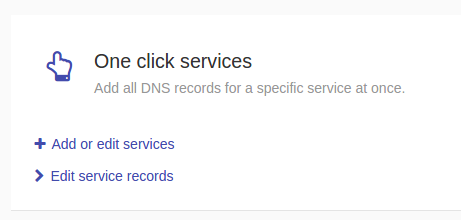
Step 3: Click Add or edit services
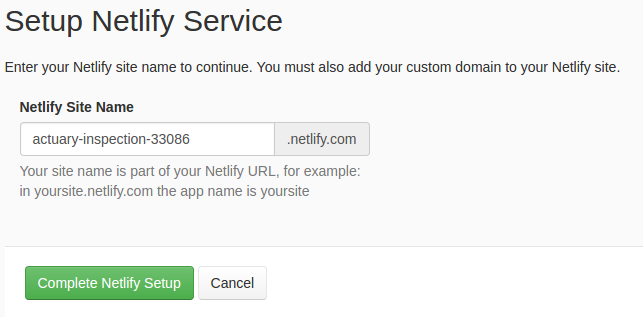
Step 4: Scroll down to Netlify, then click Add service

Step 5: Enter the name of your site as shown on app.netlify.com/sites and then click Complete Netlify Setup
Your custom domain is now pointing at your Netlify site. Remember, it may take up to a few hours for everything to work correctly.
DNS Made Easy
If you’ve purchased your domain on DNSimple, follow these simple instructions to point it at your Netlify site:
Step 1: Click Domains
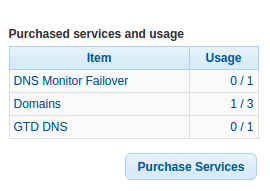
Step 2: Click the name of your domain

Step 3: Under A Records click the + sign

Step 4: Leave the Name field blank, enter 198.61.251.14 in the IP field, and click Submit
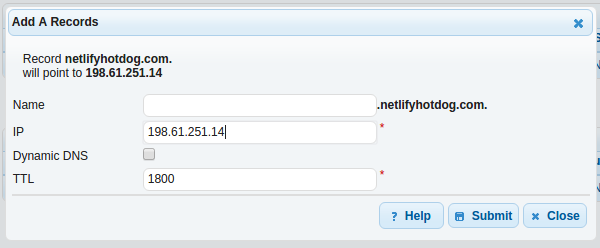
Step 5: Under CNAME Records click the + sign

Step 6: In the Name field enter www, and in the Alias to field enter the name of your site as shown on app.netlify.com/sites. Then click Submit
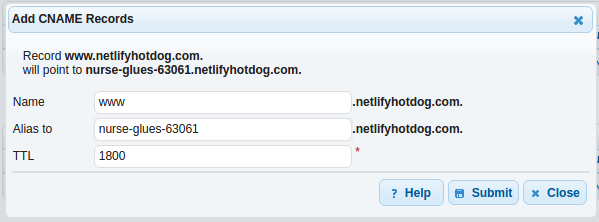
Your custom domain is now pointing at your Netlify site. Remember, it may take up to a few hours for everything to work correctly.
1and1
If you’ve purchased your domain on 1and1, follow these simple instructions to point it at your Netlify site:
Step 1: After logging in to 1and1, click Domains in the left sidebar
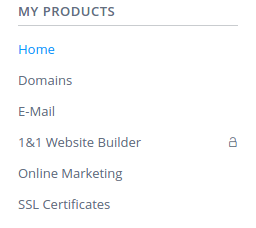
Step 2: Click Manage domains
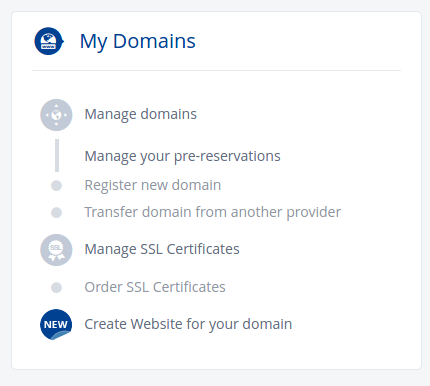
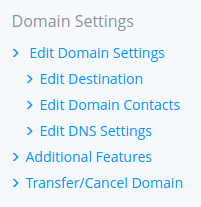
Step 3: Click Edit DNS Settings
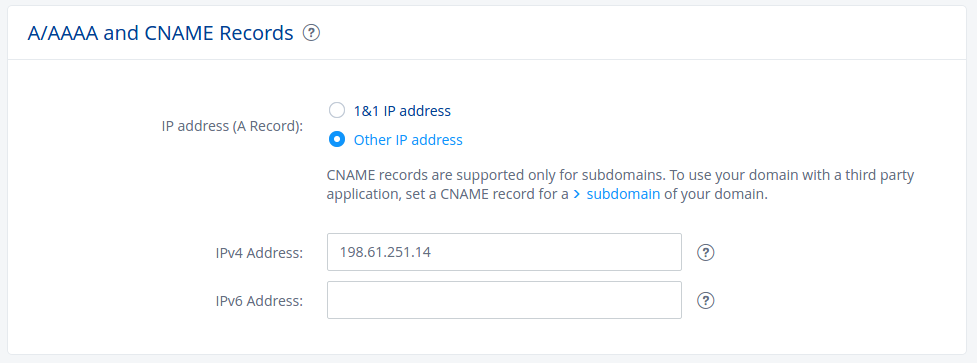
Step 4: Scroll down to A/AAAA and CNAME Records. Select Other IP address and enter 198.61.251.14 in the IPv4 Address box. Then scroll to the bottom and click Save
Step 5: After clicking Save, you will be returned to the Domains page. Click Manage Subdomains

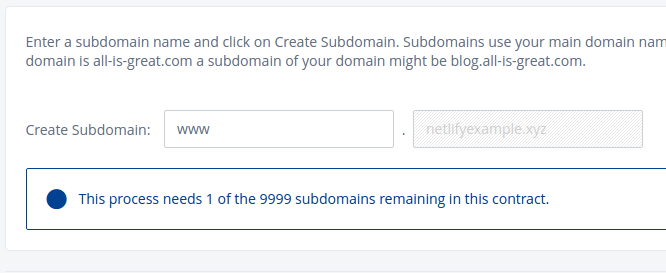
Step 6: Click Create Subdomain
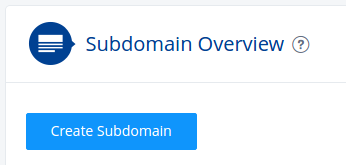
Step 7: In the Create Subdomain box, enter www, then click Create Subdomain
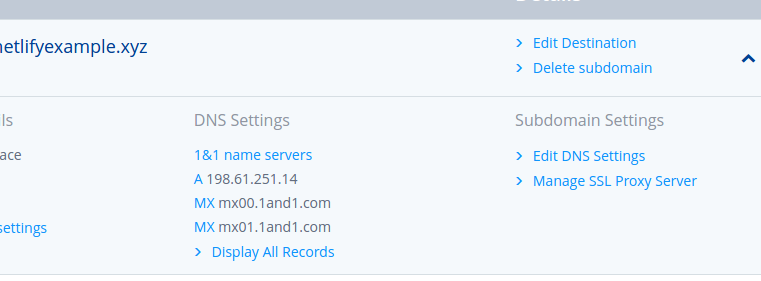
Step 8: Click the down arrow to expand your options, then click Edit DNS Settings
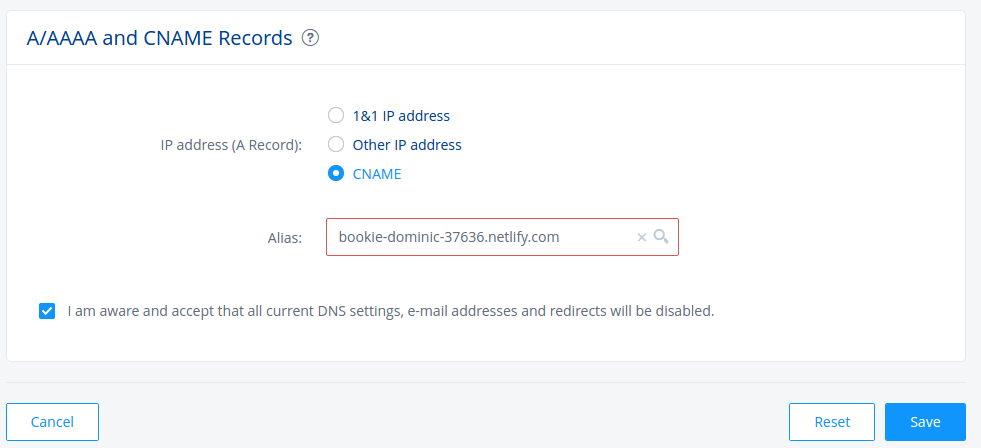
Step 9: Scroll down to A/AAAA and CNAME Records. Select CNAME. In the Alias field enter the name of your site as shown on app.netlify.com/sites. Then click Save
Your custom domain is now pointing at your Netlify site. Remember, it may take up to a few hours for everything to work correctly.